we will be closed sunday 26 to sunday 16 august for our annual summer shutdown - last dispatch is friday 24 july order before 2.00pm - See all delivery options

we will be closed sunday 26 to sunday 16 august for our annual summer shutdown - last dispatch is friday 24 july order before 2.00pm - See all delivery options

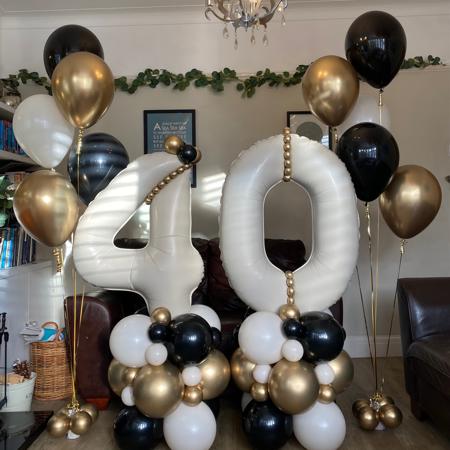
One of this year's hottest party trends is the balloon decoration hoop or wreath. They are super easy to put together, but look really stunning. You can use them as a party backdrop centrepiece with one of our amazing Balloon Garland Kits above them. They are perfect for every occasion from 1st or any milestone birthday, to Anniversaries, Christening's, Baby Showers, Hen Parties, Engagements and Weddings. Our blog will show you how to create this stunning decoration in just a few easy steps. To make it super easy we now also sell balloon hoop decoration kits and can make bespoke ones for you. If you live locally to Ruislip we can assemble and deliver them also.
You will need the following:
1) Spray or paint your hula hoop to the colour of your choice. Leave to dry. Top tip, do not do it outside as you have to contend with bugs and wind as I quickly discovered! Ideally suspend the hoop so that it is not touching anything as otherwise it tends to stick to newspaper/card if laid flat. You may need more than one coat so allow a few days to complete this stage. If you don't have time to paint it you could use ribbon, twine or wool and wrap it tightly around the hoop until it is completely covered.

2) Blow up your foil number balloon and put to one side.
3) Next, take your balloon pump and blow up all your tiny balloons to around 4 inches or until they are more of a round shape rather than a traditional oval balloon shape. The best way to achieve this is to blow them up slightly larger and then let out some air and squash them into a round shape and then tie the neck as close to the balloon as possible to keep it in the round shape. You do not want the traditional pear shape as it won't look as good on the hoop.
4) Tie your tiny balloons together in groups of two using the balloon tie noodles (i.e. the bits where you tie the balloons). These can be the same colour balloons or different colours depending on how mixed up you would like the colours to be and how many different colours you are using. Then take two sets of balloons and twist them around each other so that you end up with a group of four (a quad). Repeat until you have grouped most of the balloons into sets of four. Leave aside about 3 sets of pairs.

5) Next take your floral decoration and secure this to the bottom of the hoop. Use fishing line or better cellotape to secure it. Hide as much of the stem around the back of hoop or cut this bit off if not required. Make sure that it is securely held in place in several places.
 6) Take a group of four balloons and tie the fishing line to them. Then tie a set of balloons tightly to the hoop. You want to aim to get most of the balloons at the front of the hoop. Repeat with another set. Move the balloons around until you are happy with the arrangement of colours. They need to be sitting tightly together. Push the two sets together so that you hide as much of the hoop as possible and so that none of the balloon ties can be seen. The tighter together you get them the better the overall look.

7) Continue adding balloons along the bottom and then start adding balloons at the top. Make sure you are happy with the position and the distribution of balloons. You could have more at the bottom than the top or equal amounts, depending on the look that you are trying to achieve.
8) Next take the foil balloon and thread the fishing line through the top hole. Tie the fishing line to the top of the hoop.

9) Then repeat using the hole at the bottom of the foil number balloon, ensuring that the balloon is equally suspended between the top and bottom of the balloon and is straight.

10) Take some more fishing line or ribbon and create a loop to suspend the hoop on the wall. Alternatively you could lean it against the wall on the buffet table.
 And there you have it. You can use it for so many occasions. We now offer bespoke kits so you can customise your balloon hoop decoration. You have the option to add a name or a foil number or phrase, different flowers or leaves and whatever colour mini balloons you would like.
We would love to know what you think. Drop us a comment below!
Comments will be approved before showing up.